Let’s execute the analysis module, 2d estimation, in order to produce a model based on the data file we will select. You will need to have installed the Studio Projects specific to the version of Studio you have installed.
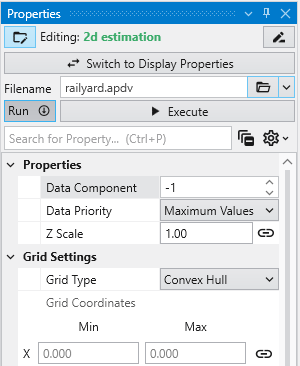
- First, double-left-click on 2d estimation to open its properties so you can see the window below
- Click on the Open button to the right of Filename and browse to Studio Projects/Analytic and Stratigraphic Modeling and choose railyard.apdv
- Then click “Execute”.
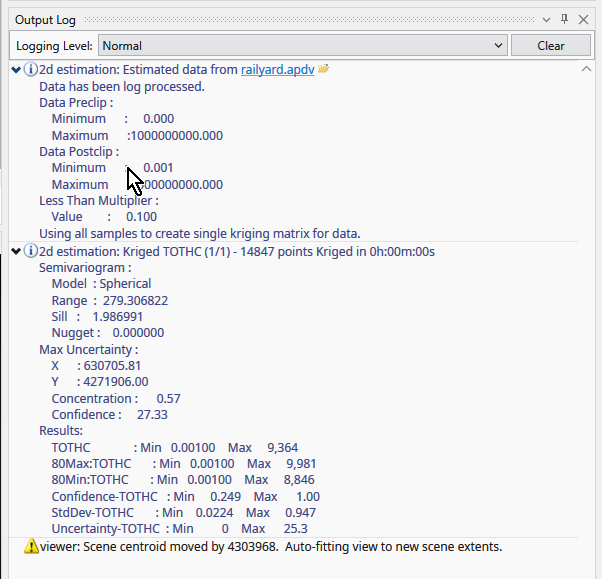
2d estimation reads the analyte (e.g. chemistry) data and begins the kriging process. In a very short time, it calculates the estimated concentrations for the grid we selected.
While it runs, 2d estimation prints messages to the Information Window such as percentage completion.
When it is done, the Output Log will show two lines, which when expanded will display:
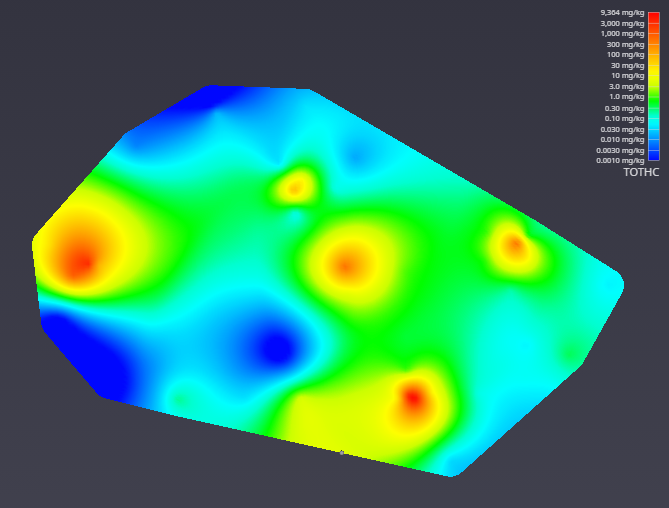
The viewer will promptly display a top view of the surface we have estimated. Your viewer should look like this:
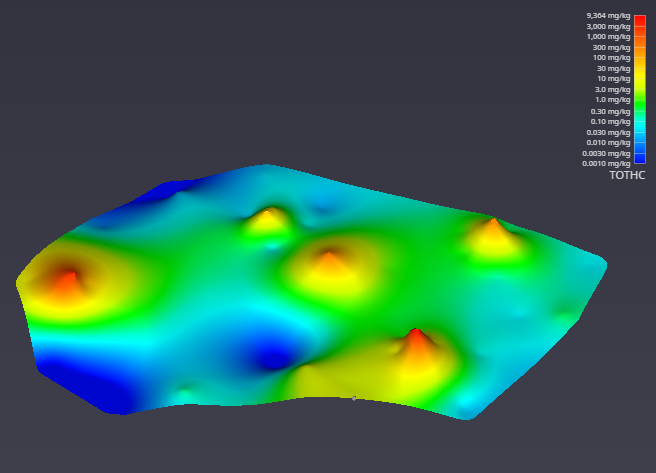
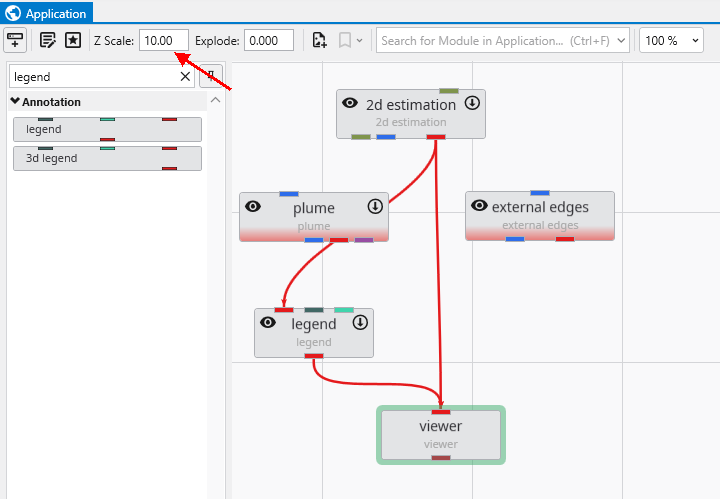
In the Application window, please change the Z Scale to 10. This will create an artificial topography to our surface where elevations correlate to concentration.
With a simple rotation of our model we now have