An option for inserting 3D PDFs is to insert a placeholder 3D model into that report.
Info
If you want to put a FULL PAGE 3D PDF into an existing PDF file, the steps below are not required. Merely use the Prepend, Append or Insert at Page options.
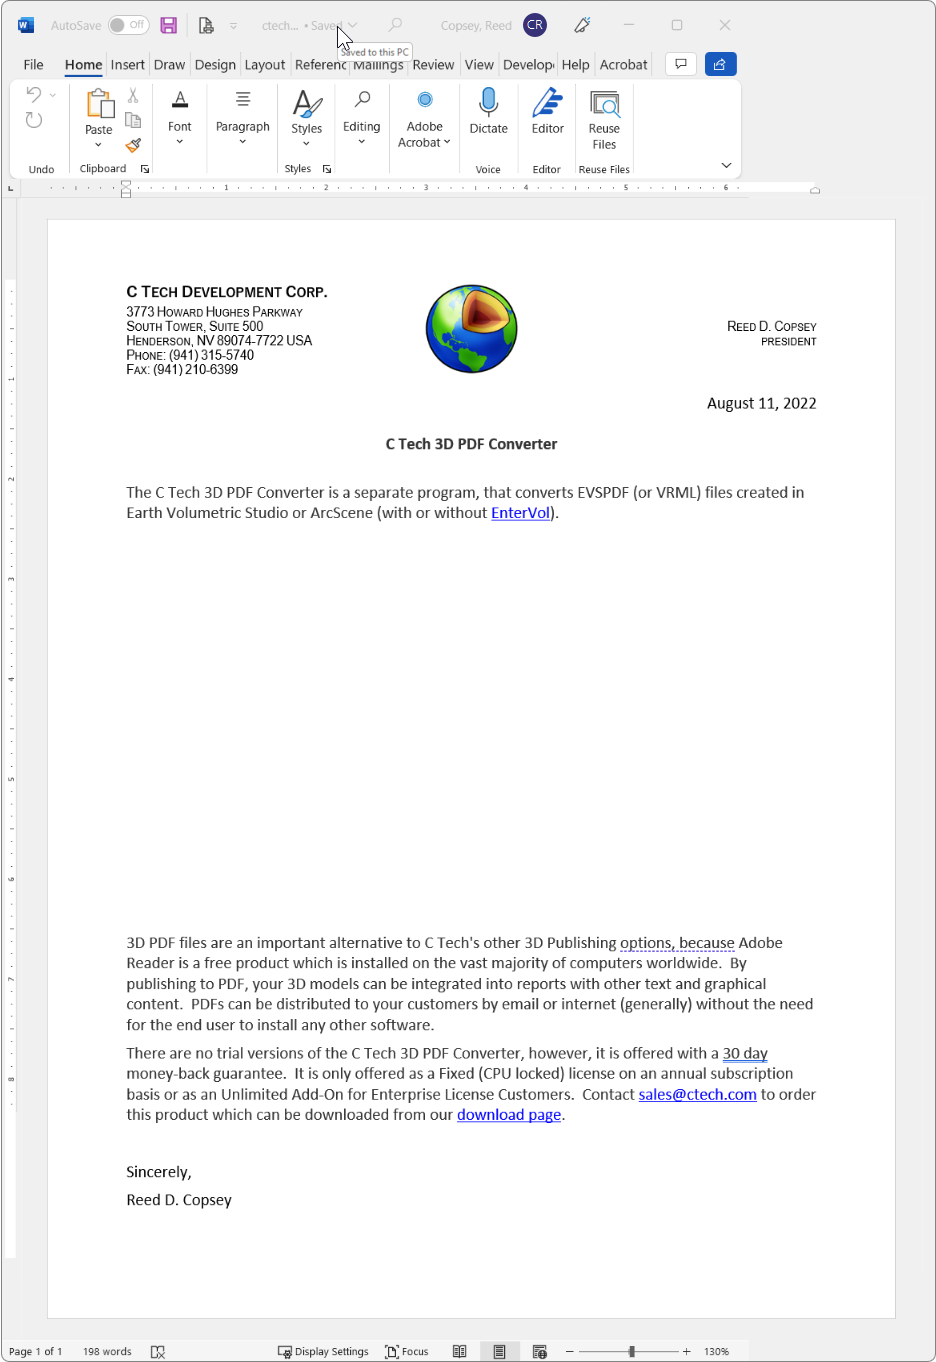
Using whatever software you wish, begin by leaving a blank space on the appropriate page where you’ll want the 3D model to be placed. The image below shows this in Microsoft Word:
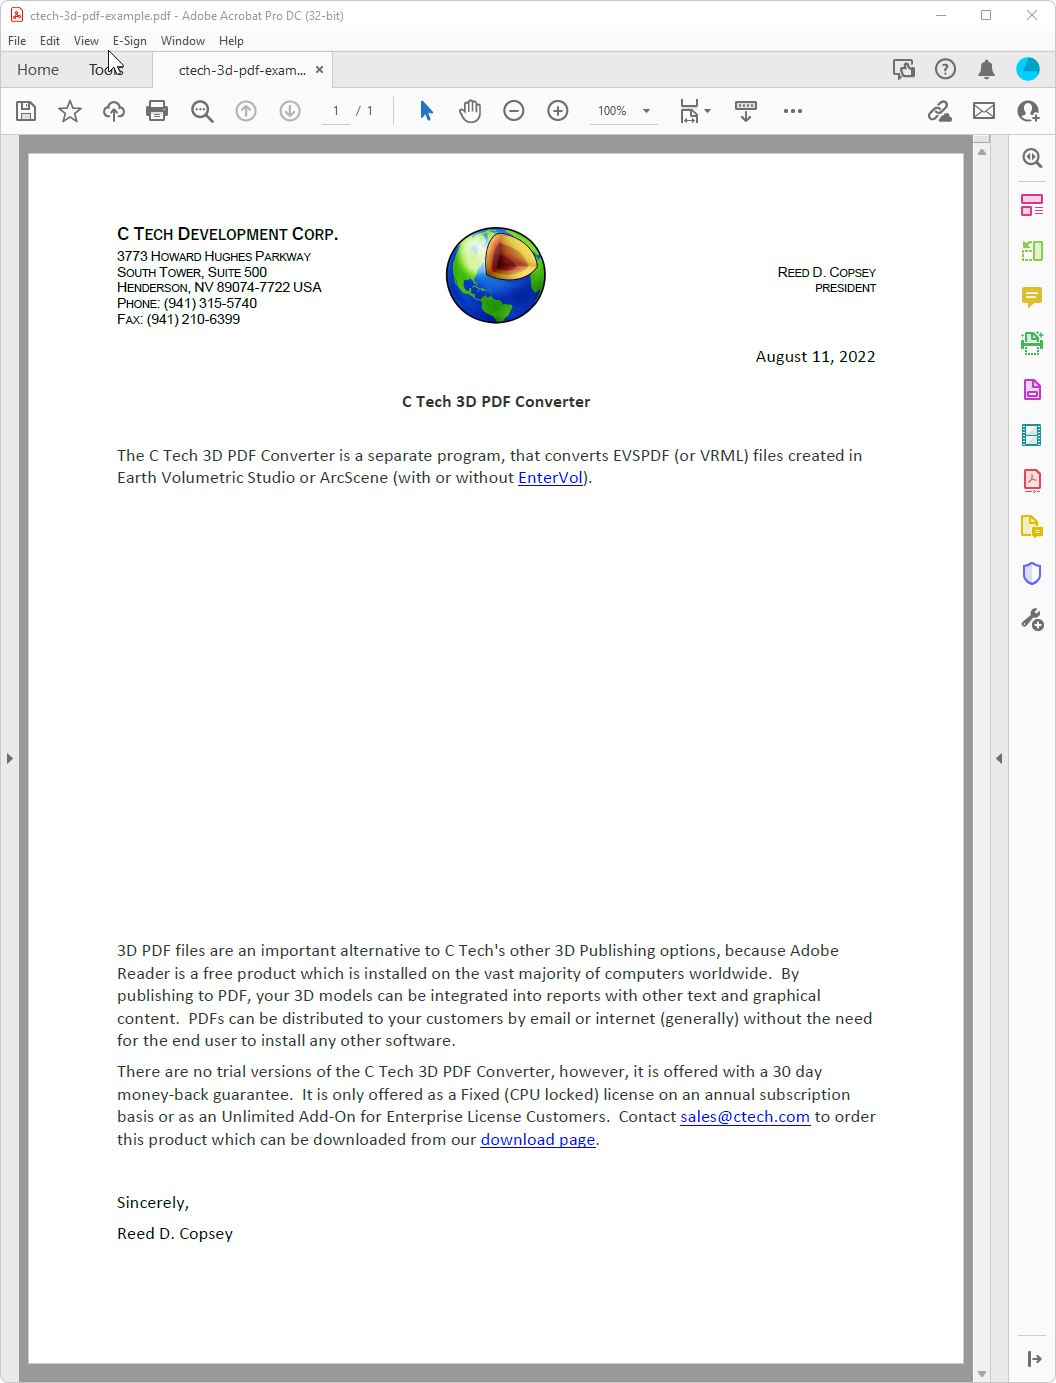
Output the document to PDF in a normal manner (e.g. Save as PDF).
Open the PDF file in Adobe Acrobat Pro DC
Choose Tools, Rich Media, Add 3D
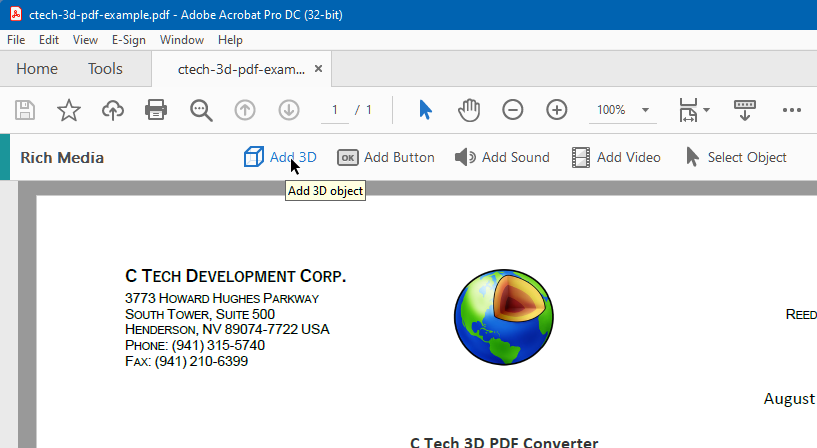
Select a rectangular area where you wish to place the 3D Model.
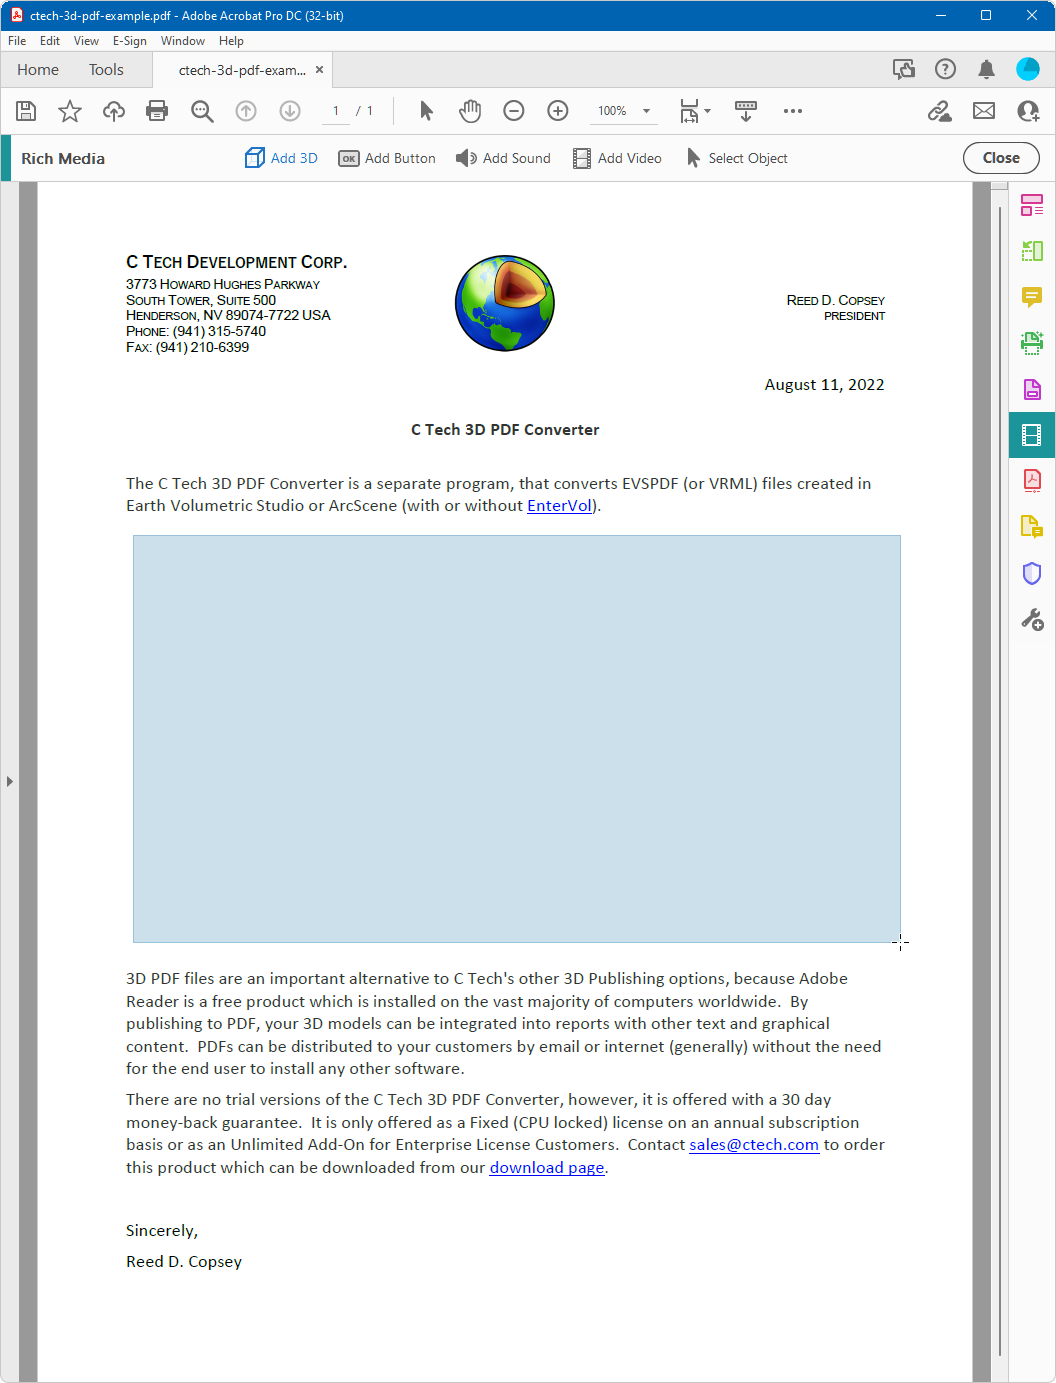
When done, it will prompt you for a file name. Click the Browse button and navigate to the ctech.u3d file:
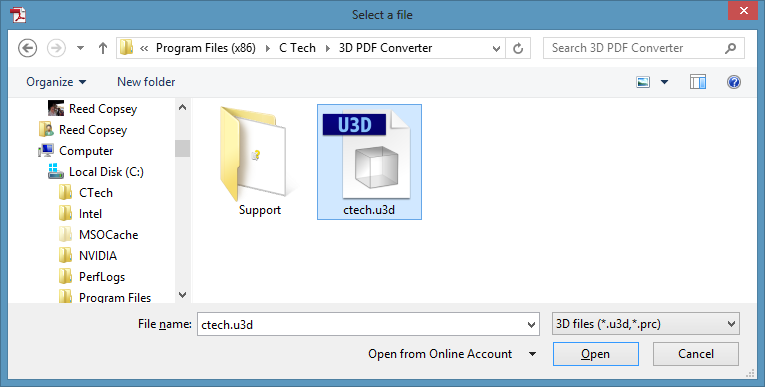
Select ctech.u3d and the Open button.
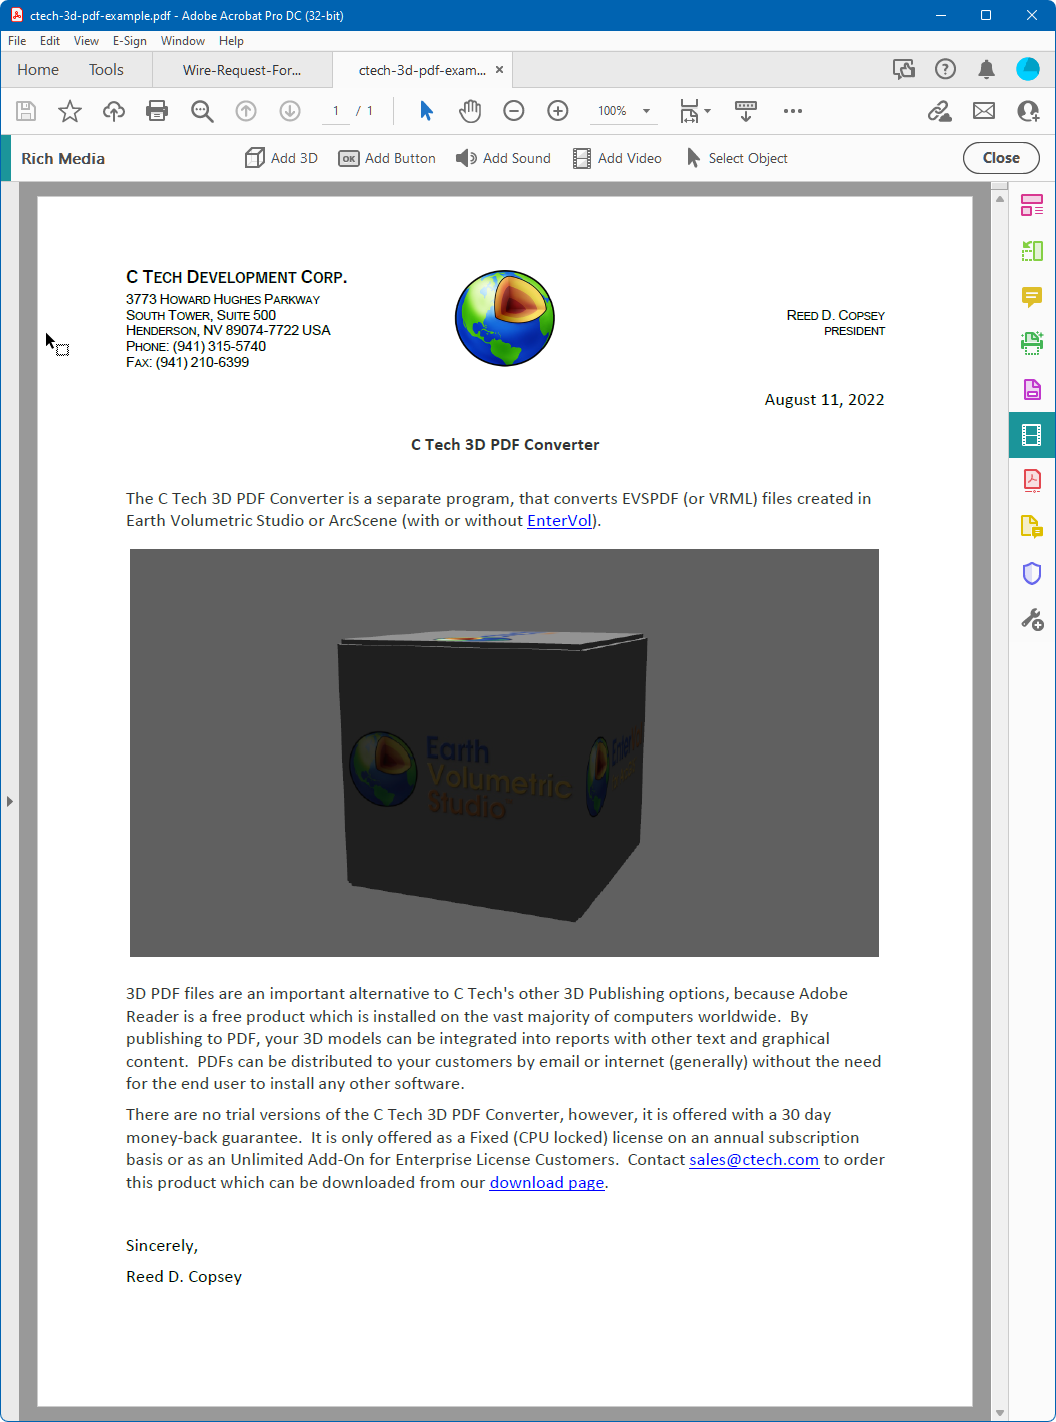
This will insert the placeholder 3D model into your document.
Repeat this process if you need additional 3D PDFs in the same document or save. You are now ready to replace your placeholder with a 3D PDF.